Thursday, October 18, 2012

Spooktacular Halloween Treat Bag with Trendy Twine

Hey Crafty Friends-

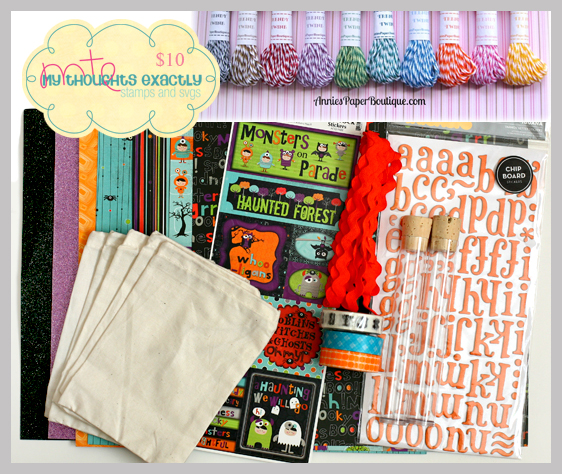
Today I have a sweet treat bag featuring Orange Licorice Trendy Twine. It's super cute and any trick or treater would love to receive this bag on Halloween night.


To make the bag topper I cut a piece of craft cardstock at 4" x 4.75", folded it in half and inked the edges in brown ink. I cut a strip of patterned paper at approximately .75" x 6", inked the edges in brown and glued in place leaving the excess hanging over the right edge. I attached he Orange Licorice Trendy Twine bow on the left side to help with placement of the sentiment. I stamped and embossed my sentiment in white then cut my flag on the end. The ghosts were stamped on white cardstock then traced with diamond stickles and cut out.. They were then glued to the ends of the twine bow. The moon is a 1" circle punched from glitter cardstock, slightly inked with orange ink and popped up on a foam dot. The bats were randomly stamped in black to finish it off. For those of you wondering the stamp set is called Happy Haunting by Lawn Fawn.

This project was so easy, so cute, and one of my all time faves! I hope you love it and will try making one yourself. The twine really pops on this bag and just wouldn't look right without it. To purchase Trendy Twine or to get more twine inspiration please visit the Trendy Twine blog by clicking HERE.

Thanks for stopping by. Please come back often for more crafty fun!

Kerri

Sunday, October 14, 2012

Denami Design Halloween Blog Hop

Hey Crafty Friends-

Today you are in for a Halloween treat! I am a huge Denami Design fan so it is my pleasure to be a part of the....wait for it....wait for it...


Today I made for you a cute little kitty Halloween card using the Cuddly Cats stamp set. This is how I did it!


I started by cutting the orange hounds tooth card base at 8" x 5" and folding in half. I cut the black cardstock layer at approximately 3.75" x 4.5" and used a scalloped border punch along the longer sides. I used purple stickles to accent the border. While the stickles dried I stamped two kitties with black ink on orange cardstock then three kitties in white (then embossed in white) on black cardstock and cut them all out. To create the pumpkin I punched a 1" circle from orange cardstock, cut the top off, and freehand cut some grooves on the top and bottom to make it look more pumpkin like. All the orange pieces were then inked around the edges with a little Ripe Persimmon Tim Holtz Distress Ink. Next I wrapped a double strand of Trendy Twine Orange Licorice twine with a bow around the top and bottom of the black layer. The twine gave me a straight line to stamp and emboss my Hey Pumpkin sentiment in white. The black layer was then adhered to the patterned base and the kitties were added, popped up on foam dots. The pumpkin was popped up again on a foam dot and the top needed a double layer of foam to be at the proper height. It might sound complex but it was so easy and fun to do.

I hope you enjoyed today's Halloween card. Please continue on down the hop for more crafty inspiration and a chance to win some great Denami prizes! You have until October 15th at 11:59 pm to leave comments on all the blogs to be entered in the drawing.

Heidi Hurley http://www.hurleyzfamily.blogspot.com/                                                                                                       Kerri Smith http://www.crafttimeandcupcakes.com/                                                                                                  Deanna Dean http://klosetkreations.blogspot.com/ <------ NEXT

Please visit the Denami Design Blog at http://www.denami.blogspot.com/ to start from the beginning of the hop or to purchase the stamp set used above.

Thank you for stopping by. Have a wonderful crafty day!

Kerri


Thursday, October 4, 2012

Fa-boo-lous Witch Pin


Hey Crafty Friends-

I am so excited to be a part of the Fa-bou-lous Halloween inspiration week hosted by Happy Life, Crafty Wife , a.k.a Tamara. For this project I wanted to step out of my crafty box and make something I don't do much of, so I decided on jewelry. I made a witch pin that is so very cute, so easy to do, and so blinged out you'll definitely want one for yourself.


I started with 2" x 2" Memory Glass and Memory Frames by Ranger.


It's very easy to sandwich the paper of your choice between the two pieces of glass and place in the frame.

I chose a cute little witch design from a DCWV stack. I shaded the edges a bit with distress ink and added a glitter paper moon.


I glued different sizes and colors of gemstones around the frame then tied a triple bow of Trendy Twine Orange Licorice twine on the ring.  A pin was added to the back and it's ready to wear!

I love quick, easy projects and this was so fun. I know I will be making more jewelry after this. I hope I have inspired you to give a shot too!

Please make sure you head to Tamara's blog Happy Life, Crafty Wife to participate in the giveaways (a few prizes pictured below) going on and show her some love for putting this Halloween week together!

 Also, please visit the Facebook pages for Trendy Twine and My Thoughts Exactly and click the follow button to keep up with all the product news.

Have a great crafty day,

Kerri

Monday, October 1, 2012

Halloween Treats- Orange Licorice Trendy Twine

Hey Crafty Friends-

Today I am featuring Orange Licorice Trendy Twine on my cute little lollipop holder. It was so easy to make so here we go!

 
I started with a lollipop holder die from My Creative Time and cut it out in green polka dot paper. I cut the spider at 3" from the Designer's Calendar Cricut cartridge in black cardstock. The center of the spider is also a die from My Creative Time, cut from black cardstock. I ran the scalloped circle through the big shot in a polka dot embossing folder,I inked the edges of the scalloped circle in white ink and stickled over it in Crystal. To create the cool twine web, I wrapped the twine around the die cut lollipop holder creating the "X" in the center and a piece going from top to bottom. I cut small pieces of twine and glued them into place between each of the longer strings, creating a diamond shape. Glued a gem in the center and the web is complete. I hope that's not too confusing. So the lollipop was placed in the holder, the spider legs glued on, then the center of the spider was popped up on foam dots. Google eyes finished off the spider. I embellished the lollipop stick by adding an orange flag stamped with Happy Halloween and topped with an Orange Licorice twine bow.
 
Hopefully you found inspiration in today's post to do something fun with those Halloween suckers for the kiddos. For more crafty twine ideas please visit the Trendy Twine Blog!
 
Have a super crafty day!
 
Kerri